A few days ago I was sitting in my lab, minding my own business, when I heard a faint low keyed buzz. It lasted for about 2-3 seconds and repeated itself every half a minute or so. I could not locate the source of the noise and sounded almost normal so I didn't pay much attention.
The next day I wanted to use my 35665A. I turned it on and then something blew. I immediately knew it was the power supply. I have already repaired it twice so no worries. There are no schematics for this PSU but it is not that difficult to troubleshoot. All components are through-hole and the traces are clearly visible.
Some warnings before we begin
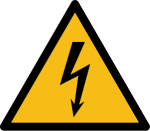
High voltage will kill you (mainly because it can stop your heart). If you mess around with mains voltages without knowing what you're doing you are eligible for a Darwin Award (Congratulations?).
If available use an isolation transformer. At minimum work behind a residual current circuit breaker.
Do not connect your oscilloscope directly to this circuit. You will burn it. Use a high voltage differential probe instead.
The repair
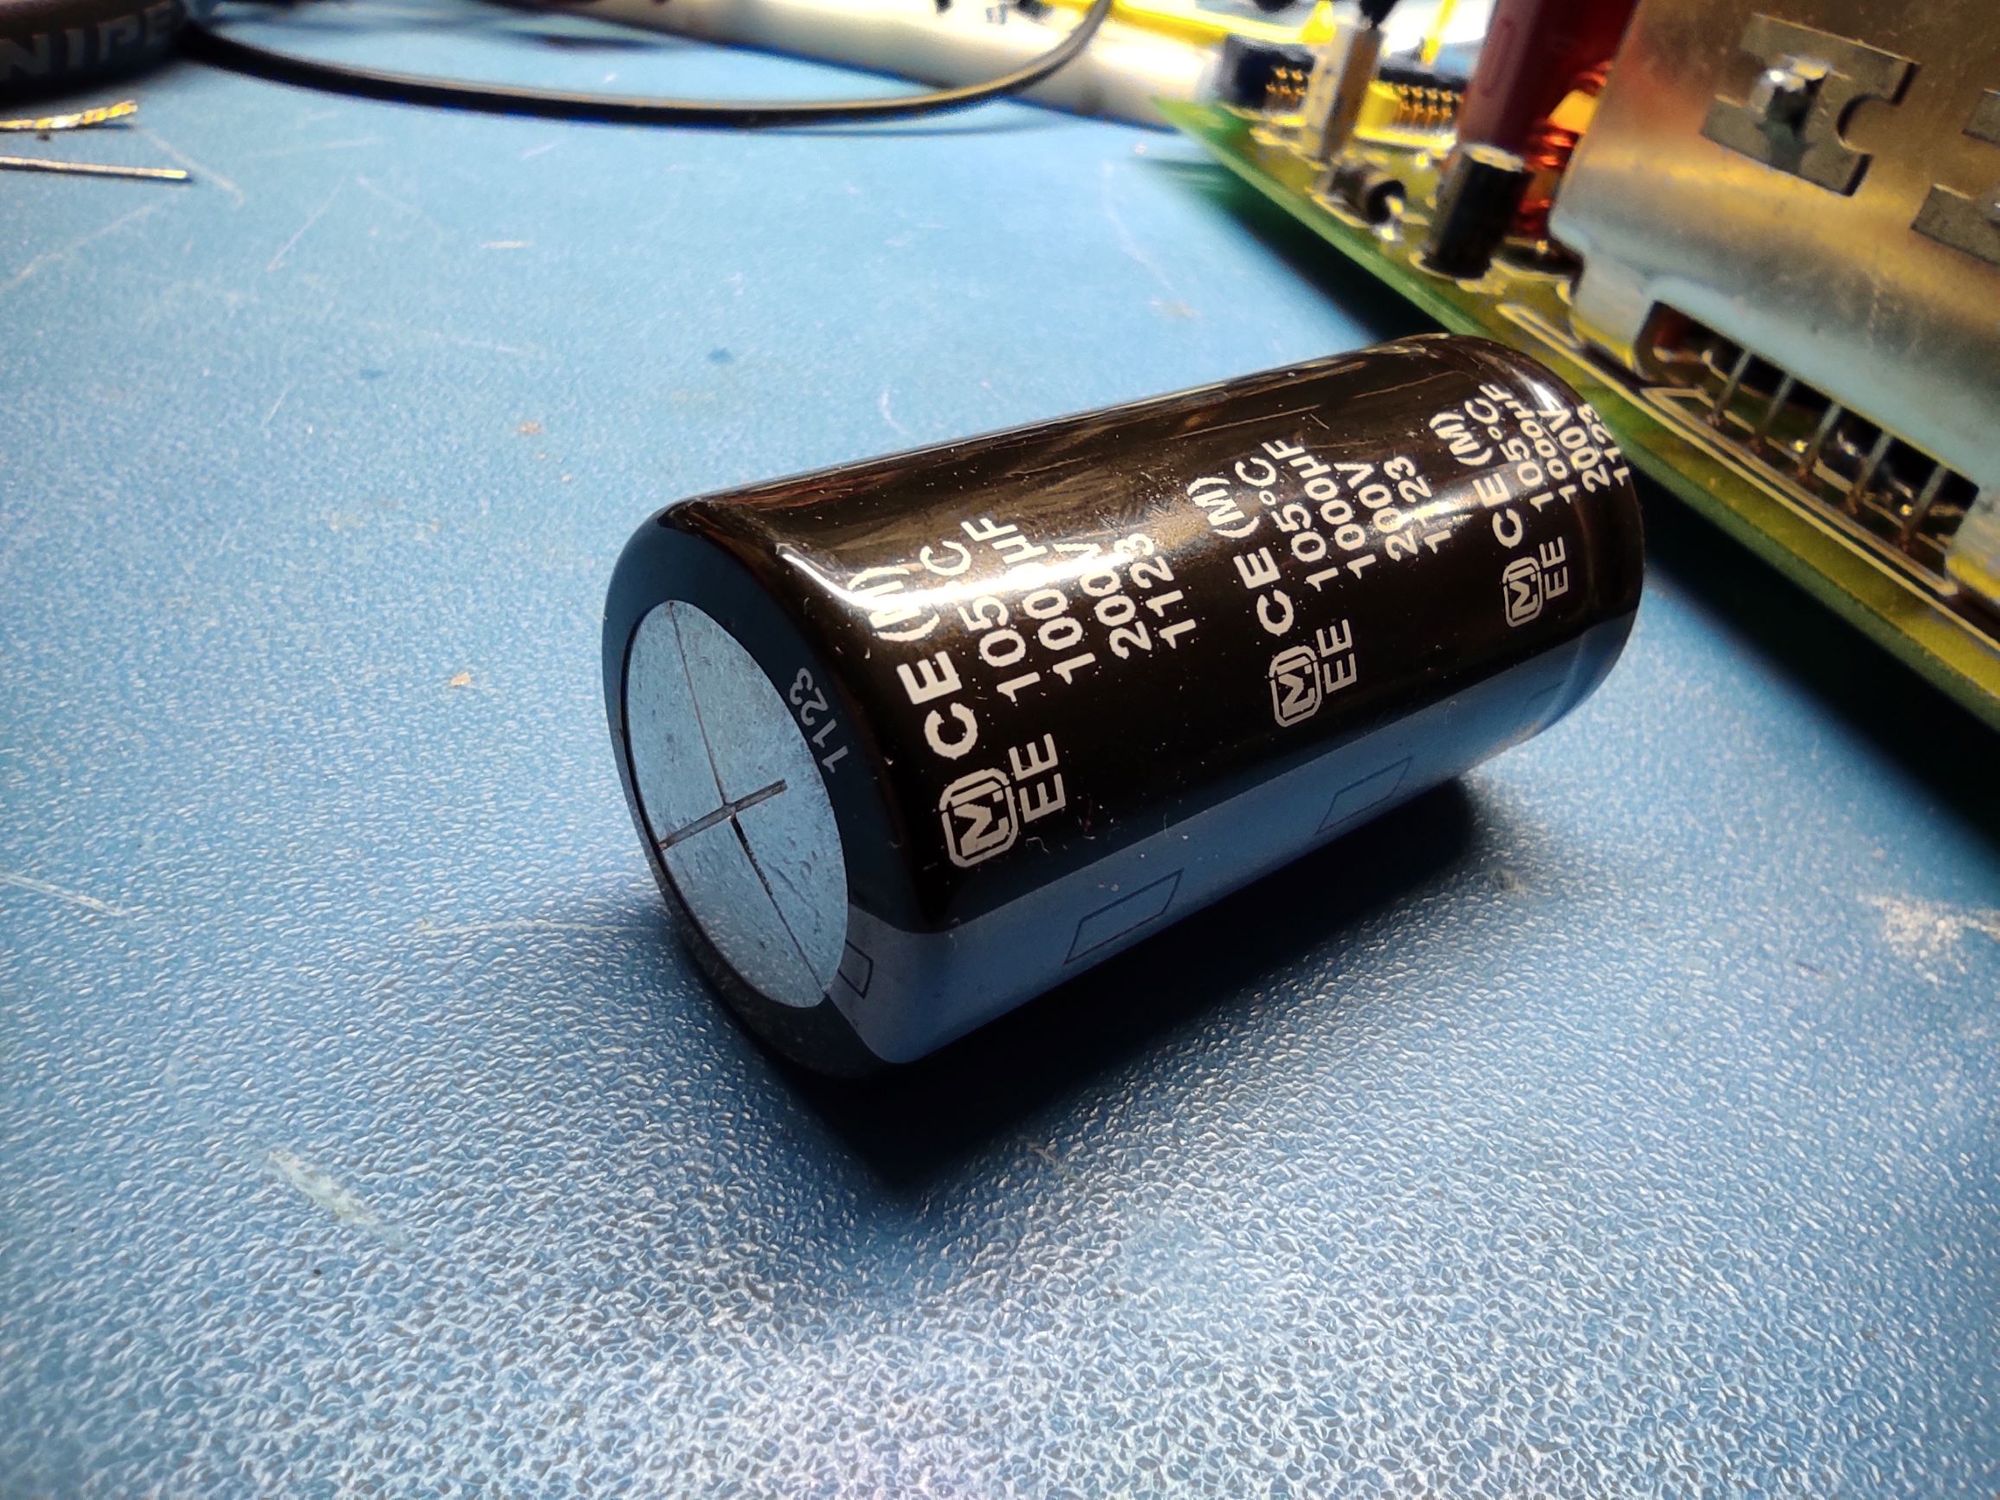
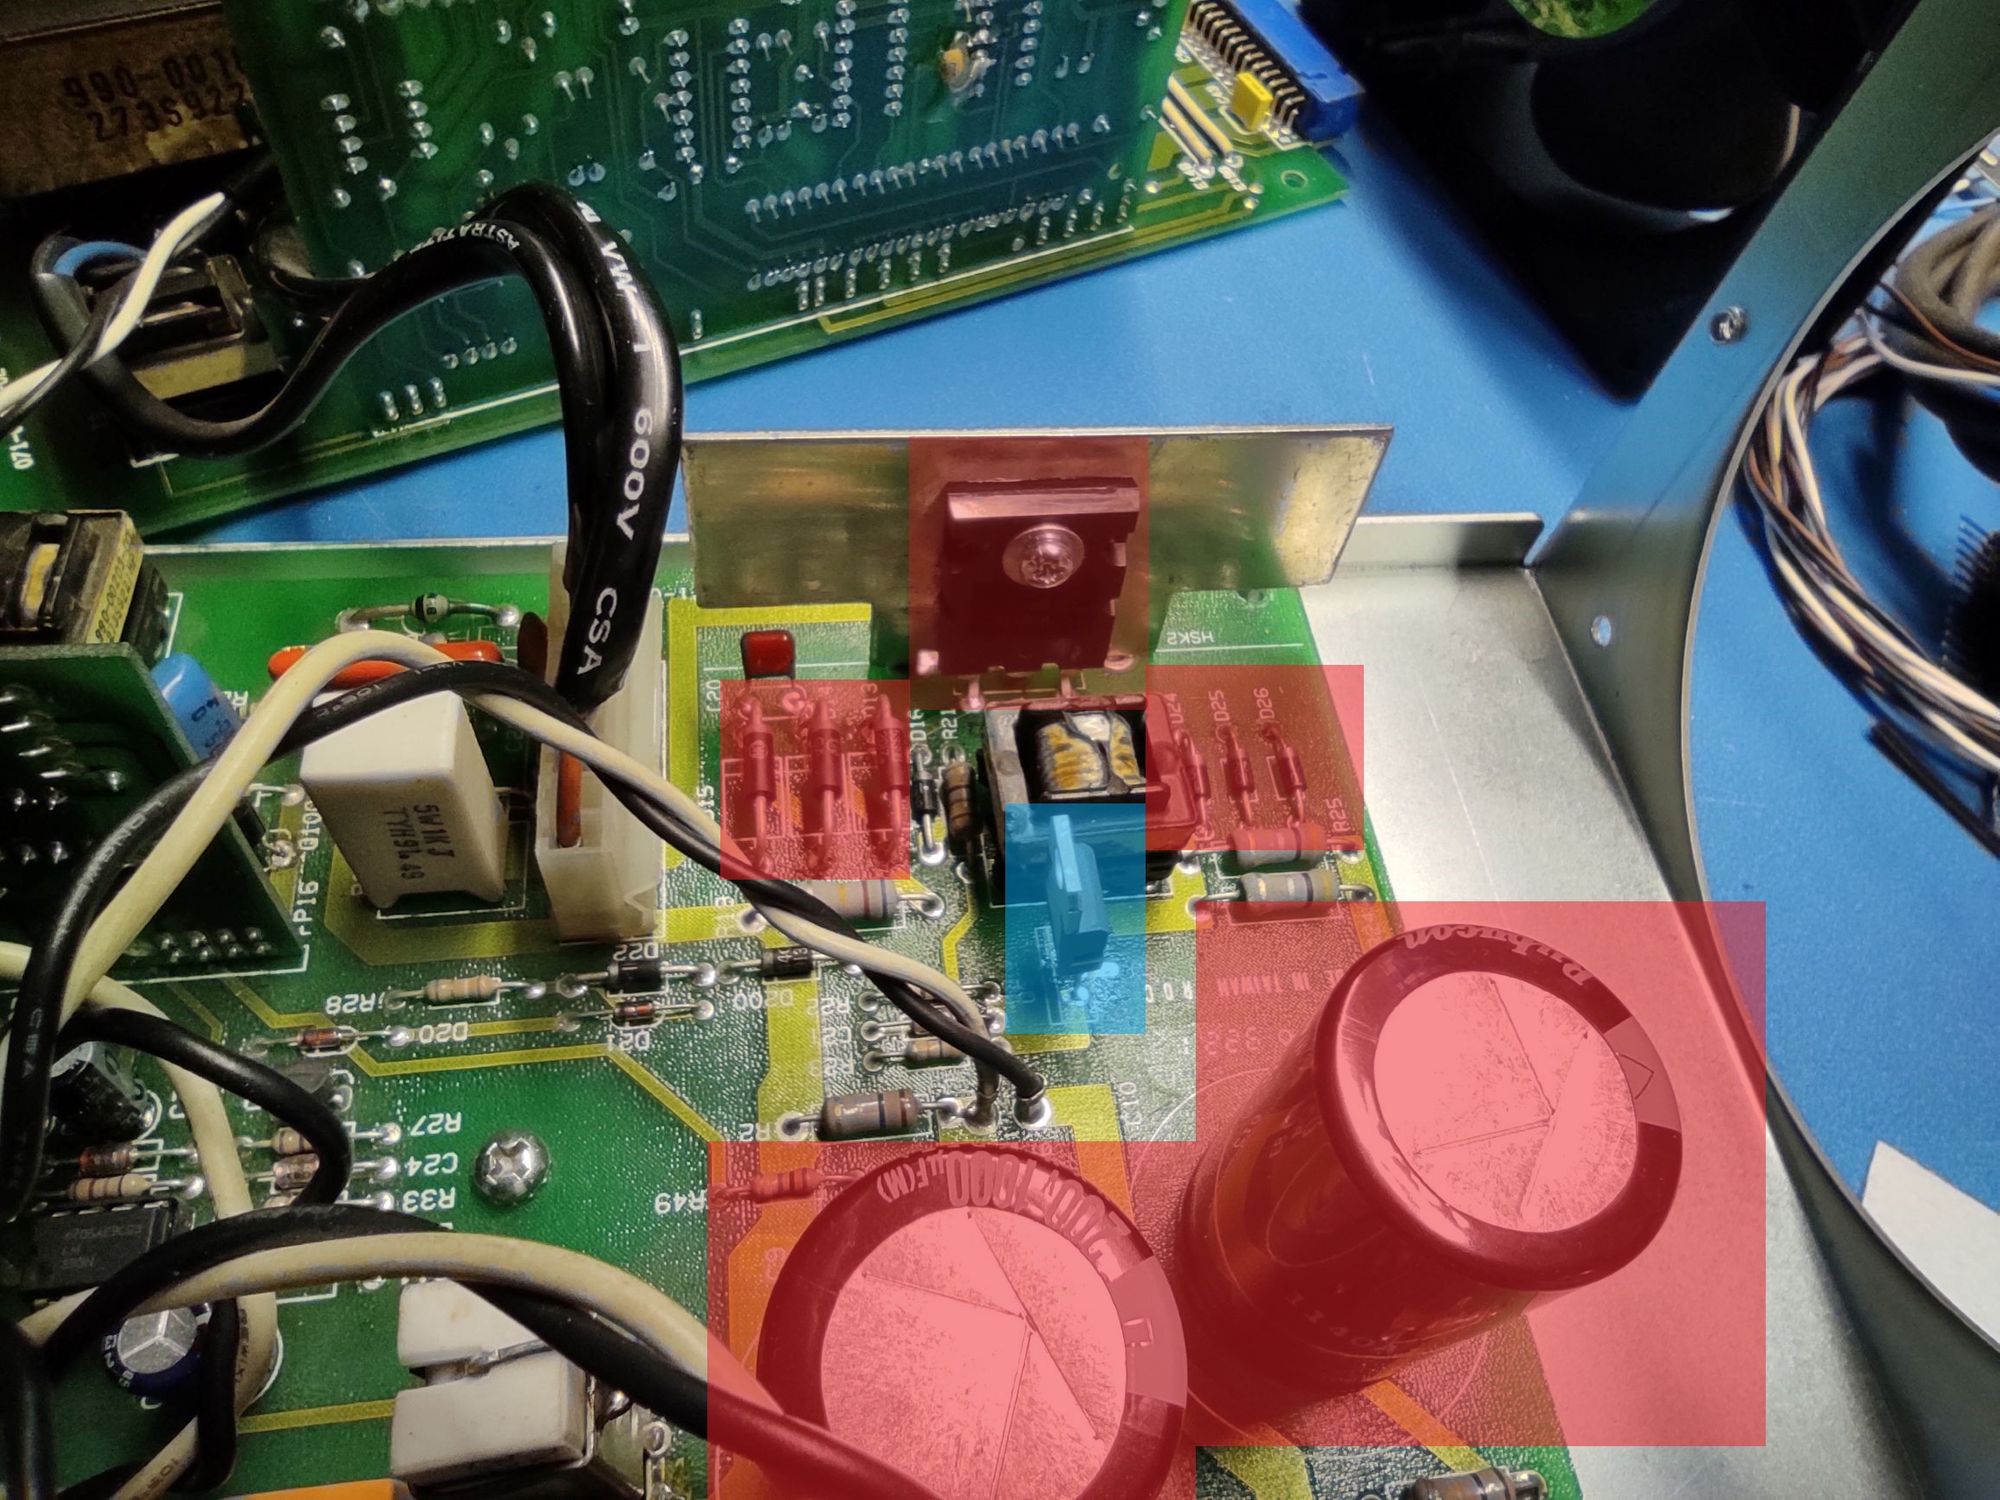
I opened the PSU and immediately noticed the one of the main capacitors was swollen. But I knew that was not going to be the end of it. So I started measuring components and sure enough I found a bunch of burned diodes and transistors.
Q4 is an NTE2324 high voltage NPN but is hard to find. The replacement I used is the FJL6920. Due to the different package the original screw and nut will not fit. I used an M3x16.
I am not sure if Q5 was burned too but I changed it anyway (I had it in my lab from a previous repair). Here is a list of the components I used and their location.
| Designator | Type | Digikey ref |
|---|---|---|
| Q4 | FJL6920TU | FJL6920TU-ND |
| Q5 | STP16NF06 | 497-2766-5-ND |
| D13, D14, D15 | 1N5339BG | 1N5339BGOS-ND |
| D24, D25, D26 | 1N4004-T | 1N4004DICT-ND |
| C9, C10 | 200VXH1000MEFCSN25X45 | 1189-2836-ND |
| Fuse | 3AB 6-R | 507-2312-ND |
The lesson I learned is that you should not keep old equipment plugged unless you have recaped them.
Some more advice on repairing the TRW P/N 095-10097
1) It helps a lot to you connect the PSU to an outlet with a switch that is easily accessible. This way you can quickly turn it off when the magic smoke escapes.
2) Even without the covers this PSU is hard to probe. To be have access to both boards you need to desolder the earth wire of the transformer's shield. I crimped on it a barrel connector (like this one).
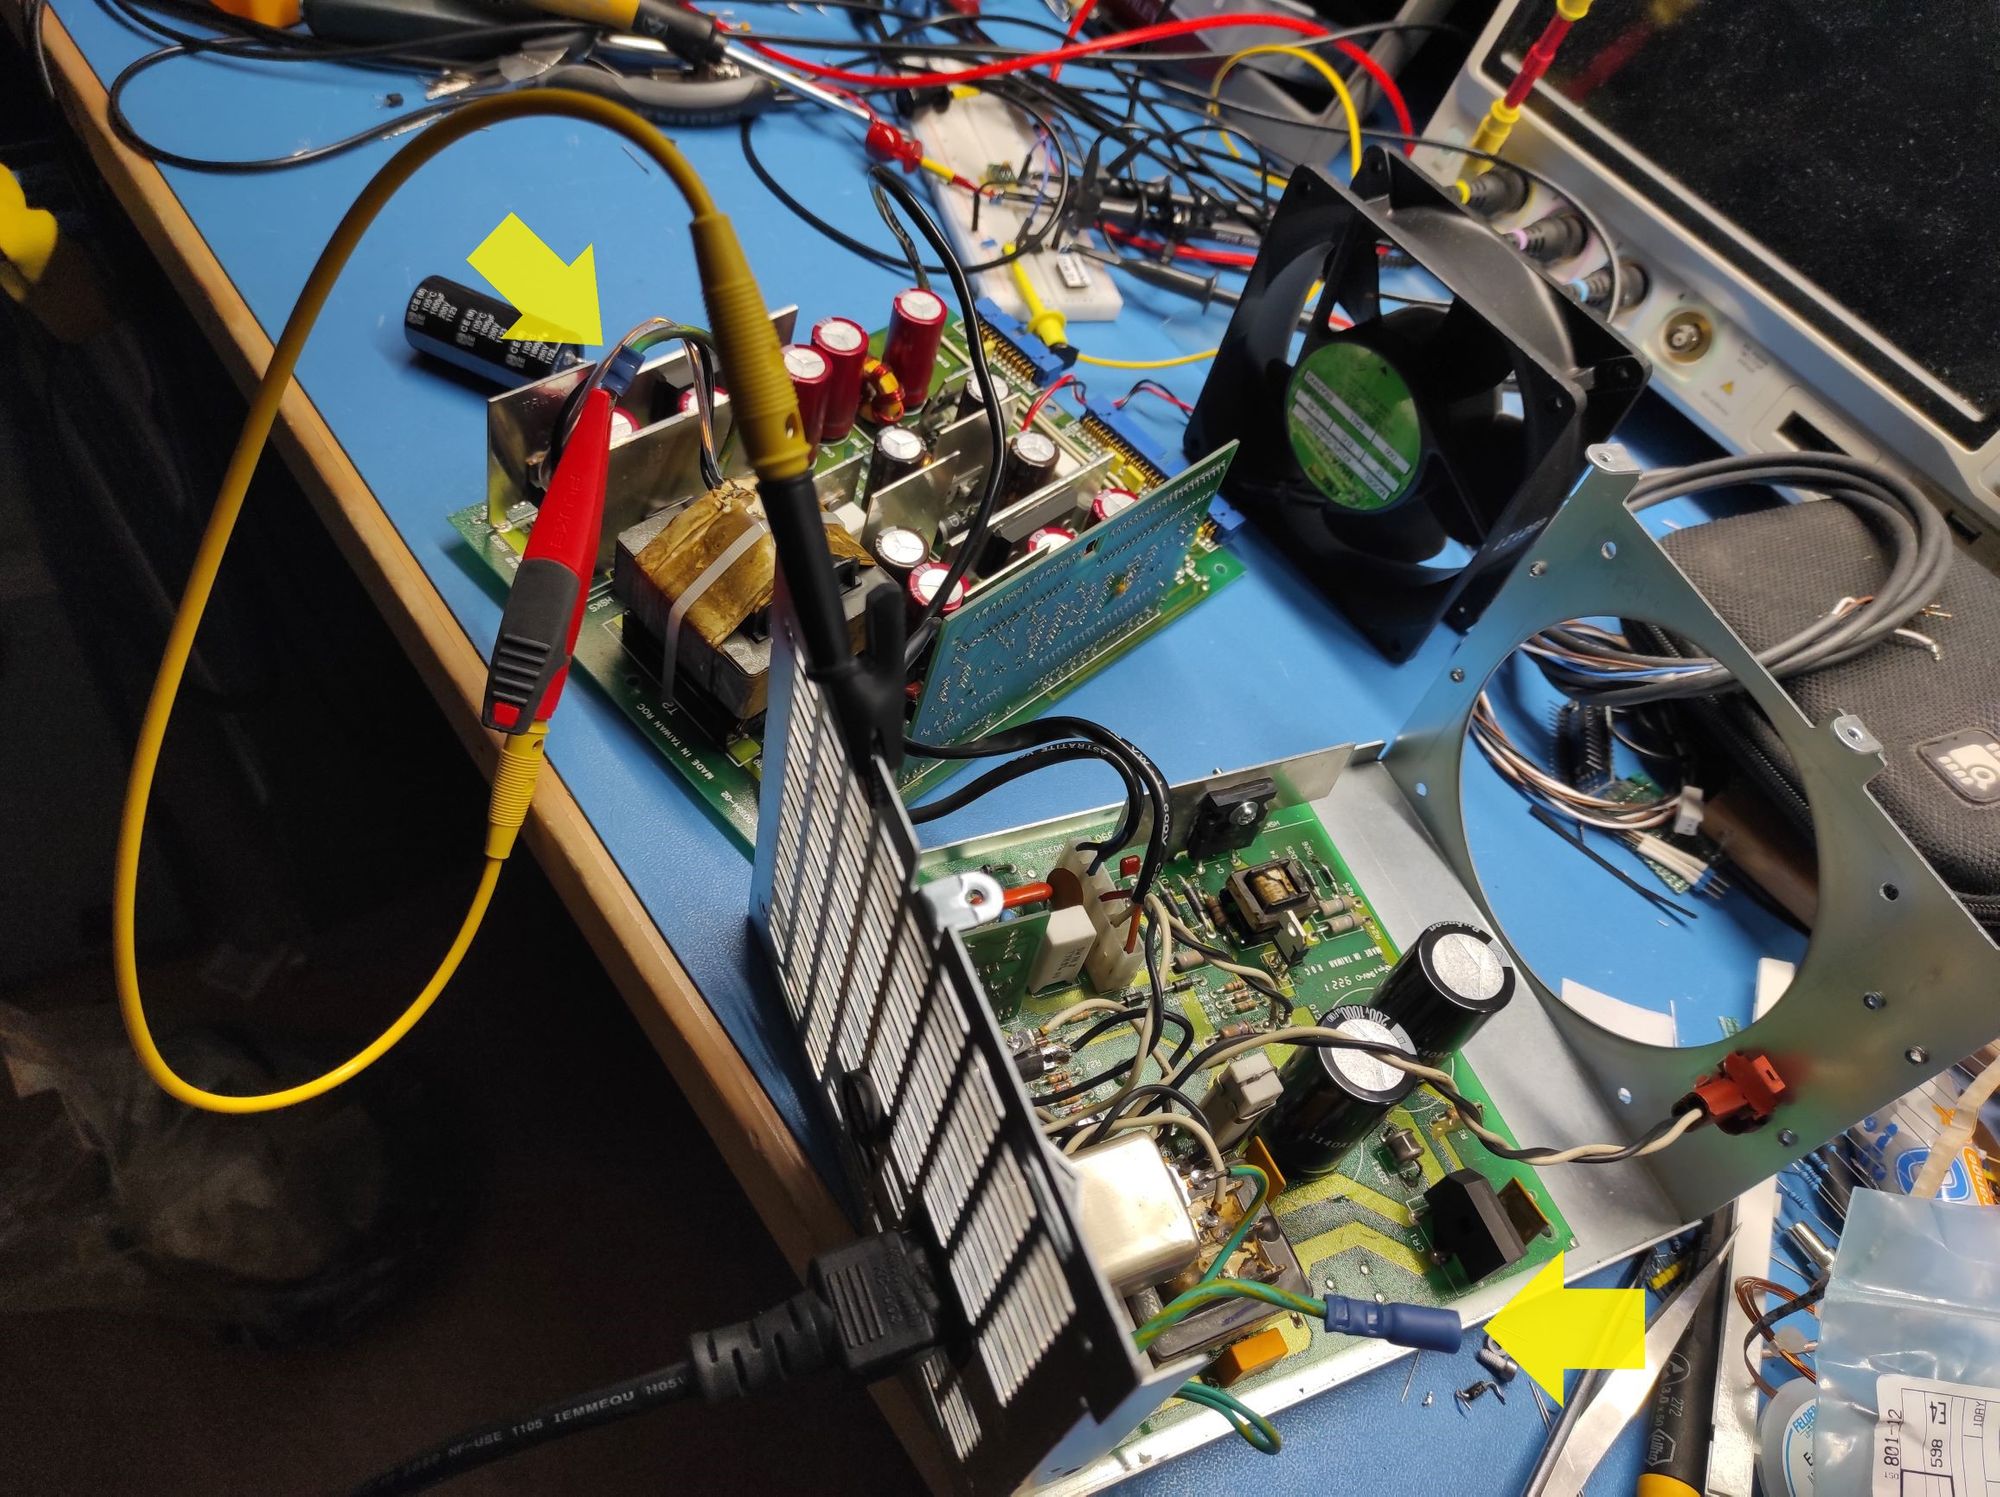
3) It is also practical to make a switch like the one in the picture.

Every time I open this PSU I swear that this will be the time that I make the schematic but till now I keep finding the faults in the first 10 minutes of probing. Maybe next time...